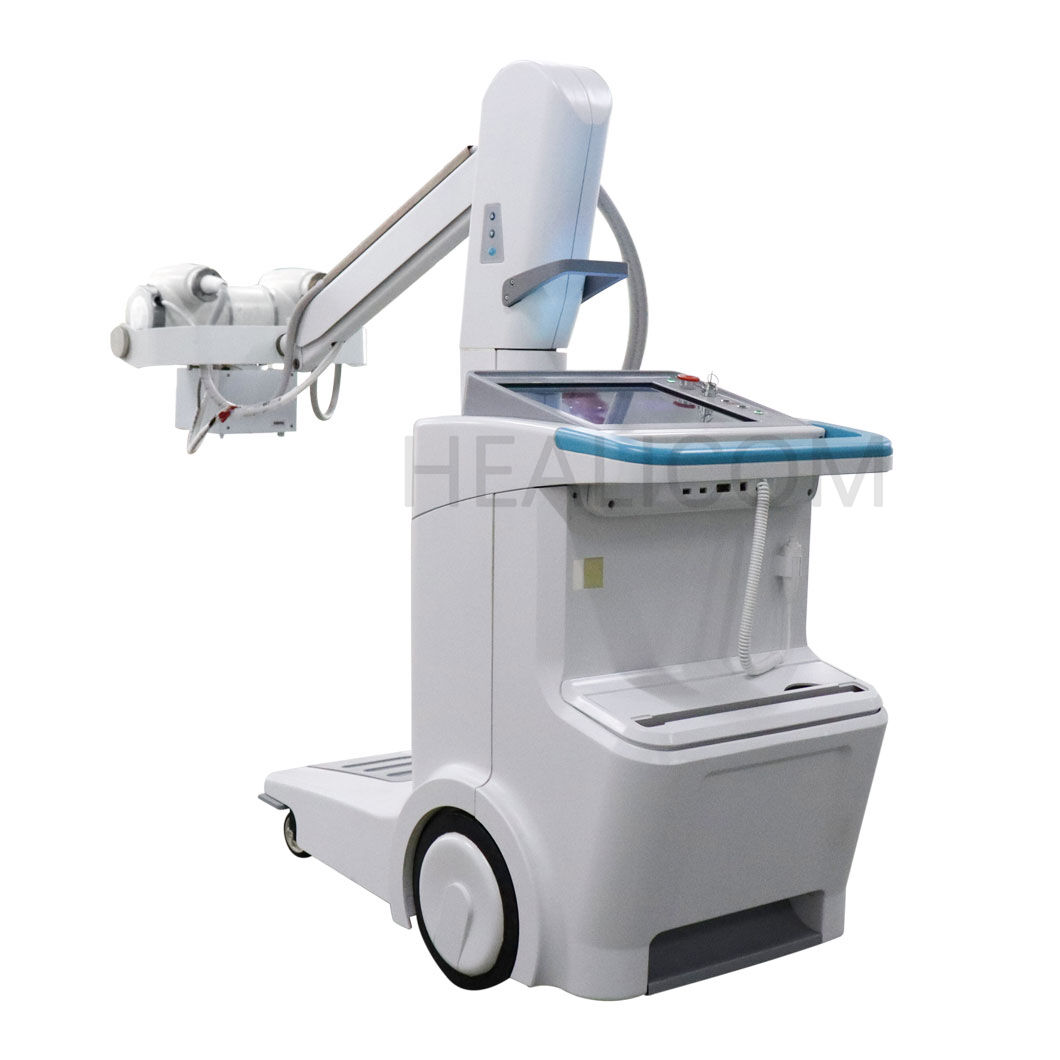
Today's veterinary x ray equipment comes with detectors that can adjust their field of view, making it possible to get clear images both for tiny pets like mice and big animals such as cows. These machines have DR panels that rotate so they can be positioned horizontally or vertically depending on how the animal needs to be placed during scanning. This kind of adaptability cuts down on repeat scans by around 25 to 30 percent, which saves time without compromising the quality needed for diagnosis regardless of animal size. Clinics no longer need to switch out detectors manually when moving from one type of animal to another, ensuring good coverage of tissues whether looking at a rabbit's chest area or examining the hip joint of a massive Great Dane dog.
Getting the right calibration for thickness matters a lot when managing radiation exposure. Automatic Exposure Control (AEC) systems work by adjusting the exposure according to what they measure in terms of tissue density. Take it from experience: imaging a cat's belly that's about 5 centimeters thick needs totally different settings compared to working on a cow's leg that measures around 25 cm. When it comes to grid ratios between 6:1 and 12:1, higher numbers tend to be better for denser areas such as dog pelvises because they help manage scattered radiation. This approach keeps smaller animals from getting too much exposure while still making sure there's enough penetration through those thick muscles we often see in farm animals. Studies have found that using AEC cuts down on dosage mistakes by roughly 40% versus doing everything manually, which helps maintain proper ALARA standards regardless of whether we're dealing with cats, dogs, or cattle.
Veterinary X-ray equipment these days can automatically change how much radiation it sends through depending on how thick the animal is. When dealing with little critters like mice or rats that measure around 2 to 5 centimeters thick, technicians set the machine to lower kilovoltage settings between 40 and 50, along with milliampere seconds ranging from 1.5 to 3. This keeps the radiation levels safe while still getting clear images for diagnosis. For bigger patients such as horses measuring 15 to 30 cm thick, the settings need to be cranked up significantly. The kilovoltage goes up to 70-90+ and milliampere seconds jump to 8-20+ so the X-rays can actually pass through all that muscle and bone. Most modern systems come equipped with automatic exposure control sensors that constantly check what's happening during the scan. These sensors make sure the right amount of energy gets delivered for each specific body part being imaged. This helps avoid having to take multiple pictures and supports the ALARA principle which stands for As Low As Reasonably Achievable when it comes to radiation exposure.
Collimation techniques need to be tailored according to what kind of animal we're dealing with. When working with smaller creatures such as cats, tighter collimation settings around 5 cm past the body actually cut down on scattered radiation by almost two thirds, which makes those tiny bones much easier to see on scans. On the flip side, bigger animals require broader collimation areas measuring between 15 to 20 centimeters because they tend to move more during imaging sessions. Still important though is maintaining that roughly 3 to 1 ratio between margins and target area so we don't expose them unnecessarily. Many newer machines now come equipped with laser guided collimators that automatically adjust their openings depending on pre-set animal categories, keeping typical radiation levels well under 0.5 milliSieverts for regular exams. And given that scattered radiation contributes about seven tenths of all image noise when scanning through thick tissues, getting these adjustments right really does make a difference in diagnosis quality while also cutting down on how often we have to repeat scans.
Choosing the right grid and setting the correct focal-film distance (FFD) really depends on the animal's size and what kind of tissues we're imaging. When dealing with those thick areas in big dogs weighing over 40 kg, using high ratio grids at around 10:1 or even 12:1 makes a huge difference. These grids cut down on scattered radiation about three times better than their lower ratio counterparts. But things change when working with tiny creatures under 5 kg. Many small exotic pets actually work better without grids at all since this helps keep the main X-ray beam strong enough for good images. Adjusting FFD also plays into getting better contrast. For horse joints, keeping the distance between 100 and 110 cm maintains sharp details in the picture. On birds though, shortening it down to somewhere between 70 and 80 cm helps because their bodies don't let X-rays penetrate as deeply. Putting these together properly for each species can boost image quality significantly compared to just sticking with standard settings. This kind of thoughtful adjustment ultimately leads to more confident diagnoses throughout veterinary medicine practices everywhere.
 Hot News