EN

How to Compare C-Arm Mobility, Positioning, and Workflow
A C-arm may fit through the operating room door and still be difficult to use once the table, anesthesia equipment and staff are in place. For a buyer comparing a carm, the practical question is not simply whether the unit moves: can the team bring it into position, obtain the required views and move it out without disrupting the case?
Compare each mobile C-arm against the same room layout and representative procedure. Involve the radiographer, surgeon, nursing team and biomedical engineer. Their combined assessment will reveal trade-offs that a specification sheet cannot show, from wheel clearance to monitor placement and cleaning access.
Start with a shared comparison plan
Choose the procedures that matter most to the facility, then map the route from storage to the table and back. For orthopedic imaging, include at least one case requiring different views and one involving substantial equipment around the patient. This is a planning exercise, not a claim about a particular hospital or clinical outcome.
Use the same table height, staff positions and room setup for each mobile C-arm demonstration. Record what is included in the proposed configuration, including the C-arm detector, display cart, cables and controls. Ask the supplier to identify anything that differs between the demonstration and the quoted system.
- Mobility: Can staff move the mobile C-arm through the full route, turn it and park it without obstructing access?
- Positioning: Can the C-arm detector reach the required views while the team maintains clearance and the sterile field?
- Workflow: Can the operator set up, acquire, review and transfer images using the intended process?
- Support: Are training, routine checks, service and acceptance responsibilities documented?
Test mobility beyond the footprint
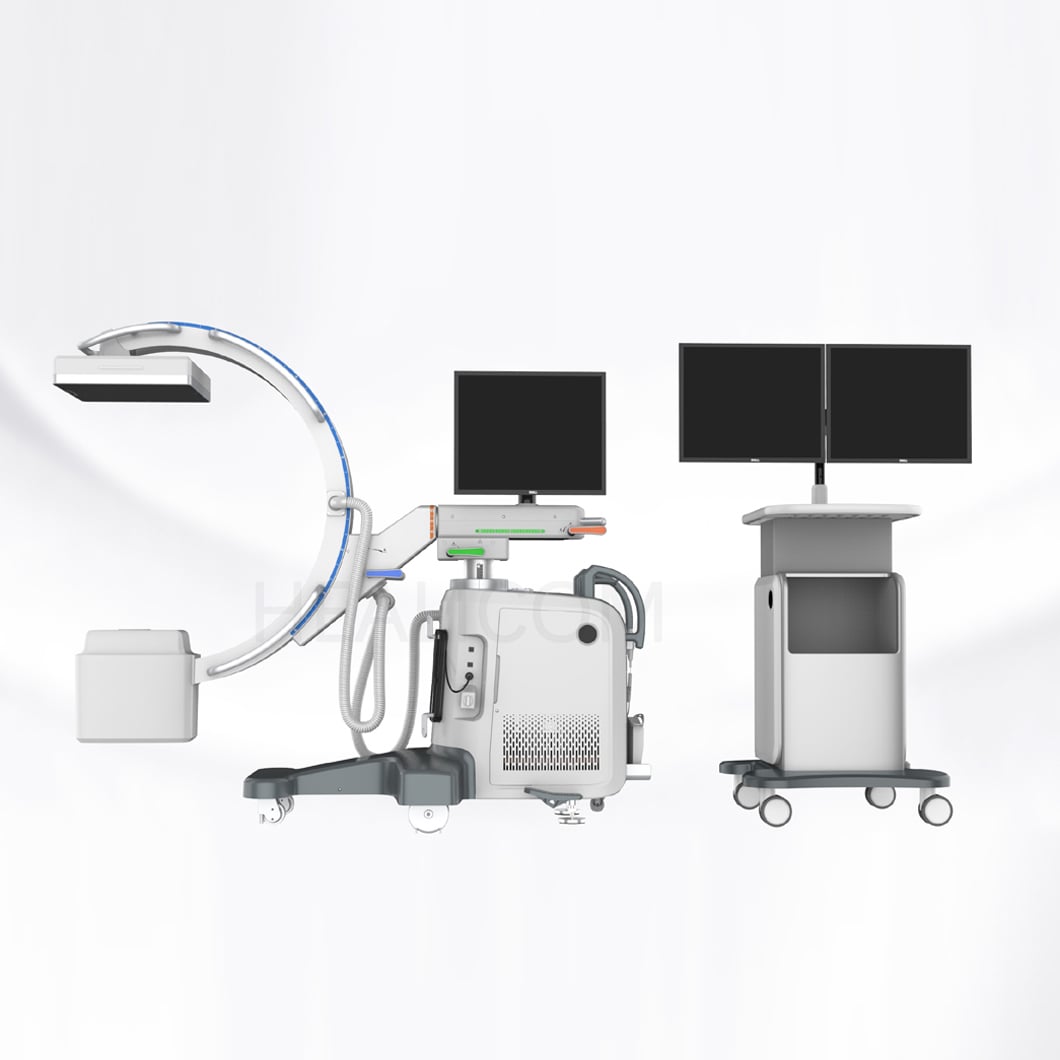
A quoted width matters at a doorway, but movement in a room also depends on turning space, wheel steering, floor transitions and the position of accessories. Ask staff to move the mobile C-arm along the actual route, with the monitor cart and cables configured as they would be during use. Include elevator dimensions and any ramps if the unit will travel between floors.
Observe the force and control required to start, stop and change direction. Check how wheel locks and steering modes work, and whether an operator can reach them in the intended parking position. A mobile C-arm that feels manageable in an empty corridor may behave differently beside a crowded table. Record the locations where a second person or a change in room layout is needed.
Parking matters too. Identify a location that leaves access to the patient and emergency equipment, allows the display to be seen, and does not place a cable across a walking route. Confirm local electrical and storage requirements with the facility team and the manufacturer rather than assuming that all units use the same connections.
Compare positioning around the table
During C-arm fluoroscopy, the source and image receptor move together to change the beam direction relative to the patient. Compare the movements available on each configuration, including orbital and angular motion, vertical travel and the depth and opening of the arm. Ask vendors to explain how they measure each dimension; figures are useful only when measured in the same way.
For orthopedic imaging, simulate access around the table with the relevant supports and positioning aids in place. Can the operator obtain the required planned views without moving the table or disturbing the field? Check for collisions with the table base, attachments, drapes and nearby equipment. A larger opening may provide room for one setup while another design may be easier to maneuver in a constrained space.
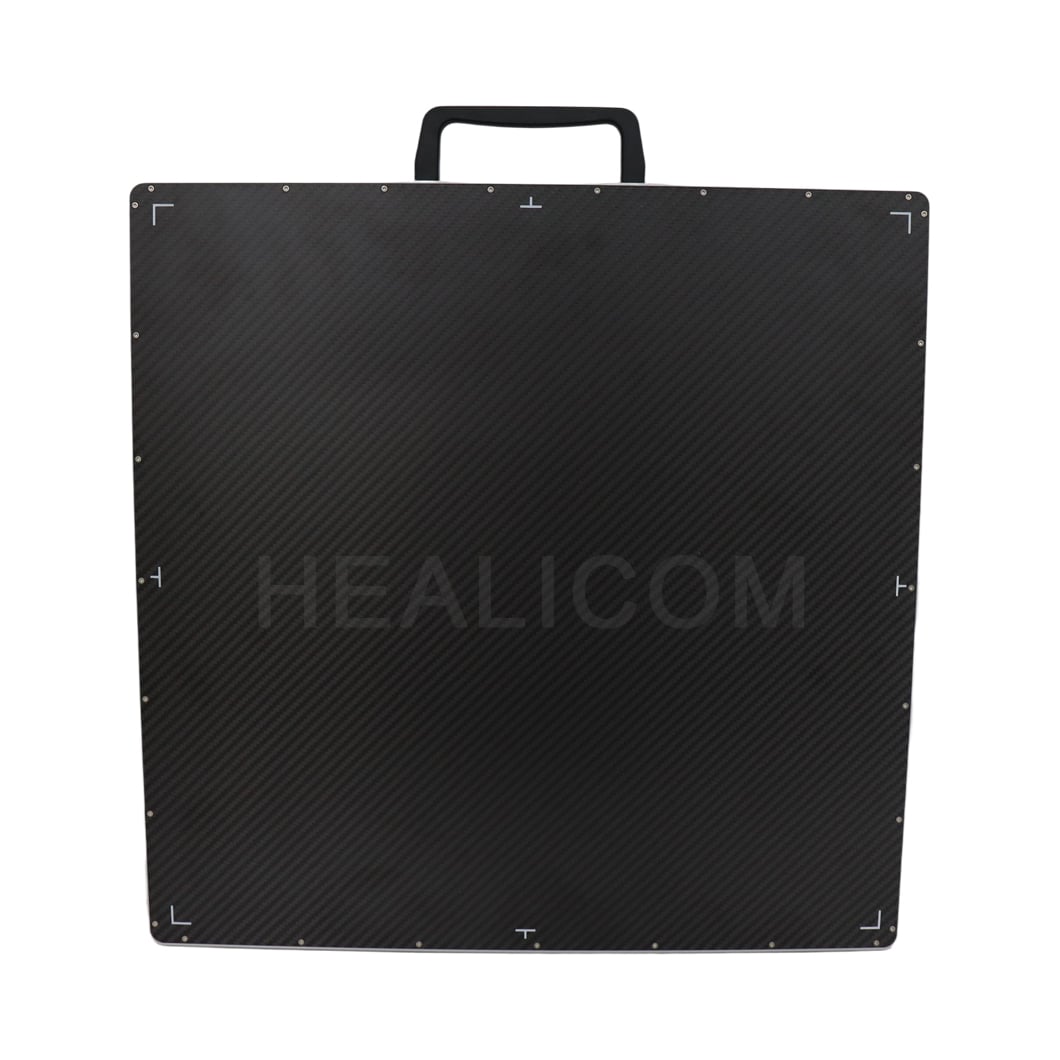
Also inspect the physical reach of the C-arm detector. Its housing, not just its active imaging area, influences clearance. Confirm whether the C-arm detector can be placed close to the patient while maintaining the necessary sterile barrier and following the manufacturer's instructions. IAEA guidance notes that positioning the detector close to the patient can reduce the radiation output needed for imaging; the clinical team must balance that principle against access and safety.
Ask the operator to identify the locks, handles and indicators without reaching across the sterile area. Where a mobile C-arm has assisted movements or stored positions, verify which functions are included and demonstrate them under the same conditions. Do not infer that a particular model has these features from a brochure for another configuration.
Assess the imaging and review sequence
The C-arm detector affects the displayed field and physical clearance, but detector size alone does not establish image suitability. For C-arm fluoroscopy, compare the available field of view, imaging modes and visibility of the relevant anatomy using an agreed evaluation protocol. Have the clinical team decide whether images support its tasks; a procurement comparison should not substitute for clinical judgment.
Watch how the operator selects a mode, adjusts collimation and reviews an image. If last-image hold is available, ask the team to demonstrate it: an adequate held image can be reviewed without continuing exposure. The FDA describes this function as a way to avoid additional exposure during review. Use of any dose-related feature remains subject to trained operators, local policy and the clinical task.
Check whether the C-arm detector and display can be positioned so the operator and surgeon can see images without blocking one another. Include the time and steps needed to label, save and transfer images. Ask the IT team to confirm the actual interfaces, network requirements and compatibility with the facility's image archive before purchase; compatibility must be verified for the quoted configuration.
Walk through a realistic workflow
A useful demonstration follows the sequence staff expect in a case: collect the mobile C-arm, enter the room, connect it, position the C-arm detector, acquire representative views, review and transfer images, then remove and clean the unit. Use a simulation and the facility's approved procedures; patient imaging and radiation use must be governed by qualified personnel and local rules.
For orthopedic imaging, document who requests the view, who moves the arm and how the team communicates when the geometry changes. Note whether the operator can see the display and hear the request from the planned position. During C-arm fluoroscopy, repeated repositioning or an awkward display location can create extra coordination steps even when the requested view is technically reachable.
Include cleaning and turnover in the demonstration. Ask which surfaces and accessories require attention, what agents are permitted, and how cables and handles are managed between uses. Verify cleaning instructions for the proposed mobile C-arm with the manufacturer and the facility's infection-control team.
Use a comparison sheet before requesting a quote
List the same criteria for each candidate rather than scoring a feature in isolation. For the C-arm detector, note the quoted configuration, field of view and clearance observed in the demonstration. For C-arm fluoroscopy, record the modes and review functions that were actually shown. For mobility, capture route restrictions and any required room changes.
Separate observations from open questions. A practical sheet can include: requirement, test setup, observed result, staff feedback, documentation to obtain and person responsible for acceptance. If a proposed mobile C-arm cannot be demonstrated on site, request measured drawings and a documented plan for confirming fit before final acceptance.
Finally, compare the entire proposal: training for the users, planned maintenance, service response arrangements, replacement parts, software support and applicable local documentation. For orthopedic imaging, agree on acceptance tests with clinical and engineering staff before ordering. Healicom can discuss equipment requirements with buyers; ask for model-specific documentation and confirm the scope of any proposed configuration.
Frequently asked questions
Is a smaller C-arm detector easier to position?
Not necessarily. The detector housing, arm geometry and table accessories all affect access. Compare the C-arm detector in the actual setup as well as on paper, and make sure the field of view meets the intended imaging task.
What should a mobility demonstration include?
Move the mobile C-arm from storage through the complete route, then position and park it with the monitor cart and cables present. Ask intended users to check turning space, visibility, wheel controls and access around the table.
Does C-arm fluoroscopy require a separate dose discussion?
Yes. Involve qualified clinical and radiation-safety staff in the choice of C-arm fluoroscopy settings, training and local protocols. Discuss detector placement, collimation and image review features as part of the same workflow rather than treating them as a purchasing shortcut.
 Hot News