EN


How to Inspect Anesthesia Breathing Circuits and Components
An anesthesia machine checkout is more than a quick look at hoses before a case. The breathing circuit, reservoir bag, valves, absorbent assembly, and monitoring connections form a path that must be intact, correctly assembled, and suitable for the planned workflow. This article offers a practical inspection framework for trained anesthesia personnel. It does not replace the instructions for the installed anesthesia workstation, local policy, or the clinical judgment of the responsible provider.
A useful starting point is to separate what you can see from what you must verify. A circuit may look intact yet still have a loose connection, an incorrectly seated valve, or a monitoring line problem. Conversely, a formal test sequence differs among workstation models and circuit designs. Follow the manufacturer-approved checkout procedure every time; use the checks below to make the inspection more deliberate and easier to document.
Start With the Intended Anesthesia Workstation Setup
Before handling the anesthesia breathing circuit, identify the planned circuit configuration, patient connection, ventilation mode, and any accessories that will be used. Confirm that the selected circuit is compatible with the anesthesia workstation and that all reusable and single-use components meet your facility’s handling process. This first pause matters because an inspection is only meaningful when it matches the setup that will actually be used.
- Review the workstation’s daily or between-case checkout requirement.
- Confirm the circuit type and patient connection are appropriate for the planned case.
- Gather the reservoir bag, filters, water traps, sampling lines, adapters, and monitoring accessories before testing.
- Check that backup ventilation and emergency equipment are available according to local policy.
For procurement and engineering teams, this is also where a clear configuration list helps. An anesthesia machine may support several circuits and monitoring options, but the relevant question is whether the supplied items match the facility’s intended workflow.
Inspect the Breathing Circuit Visually and by Touch
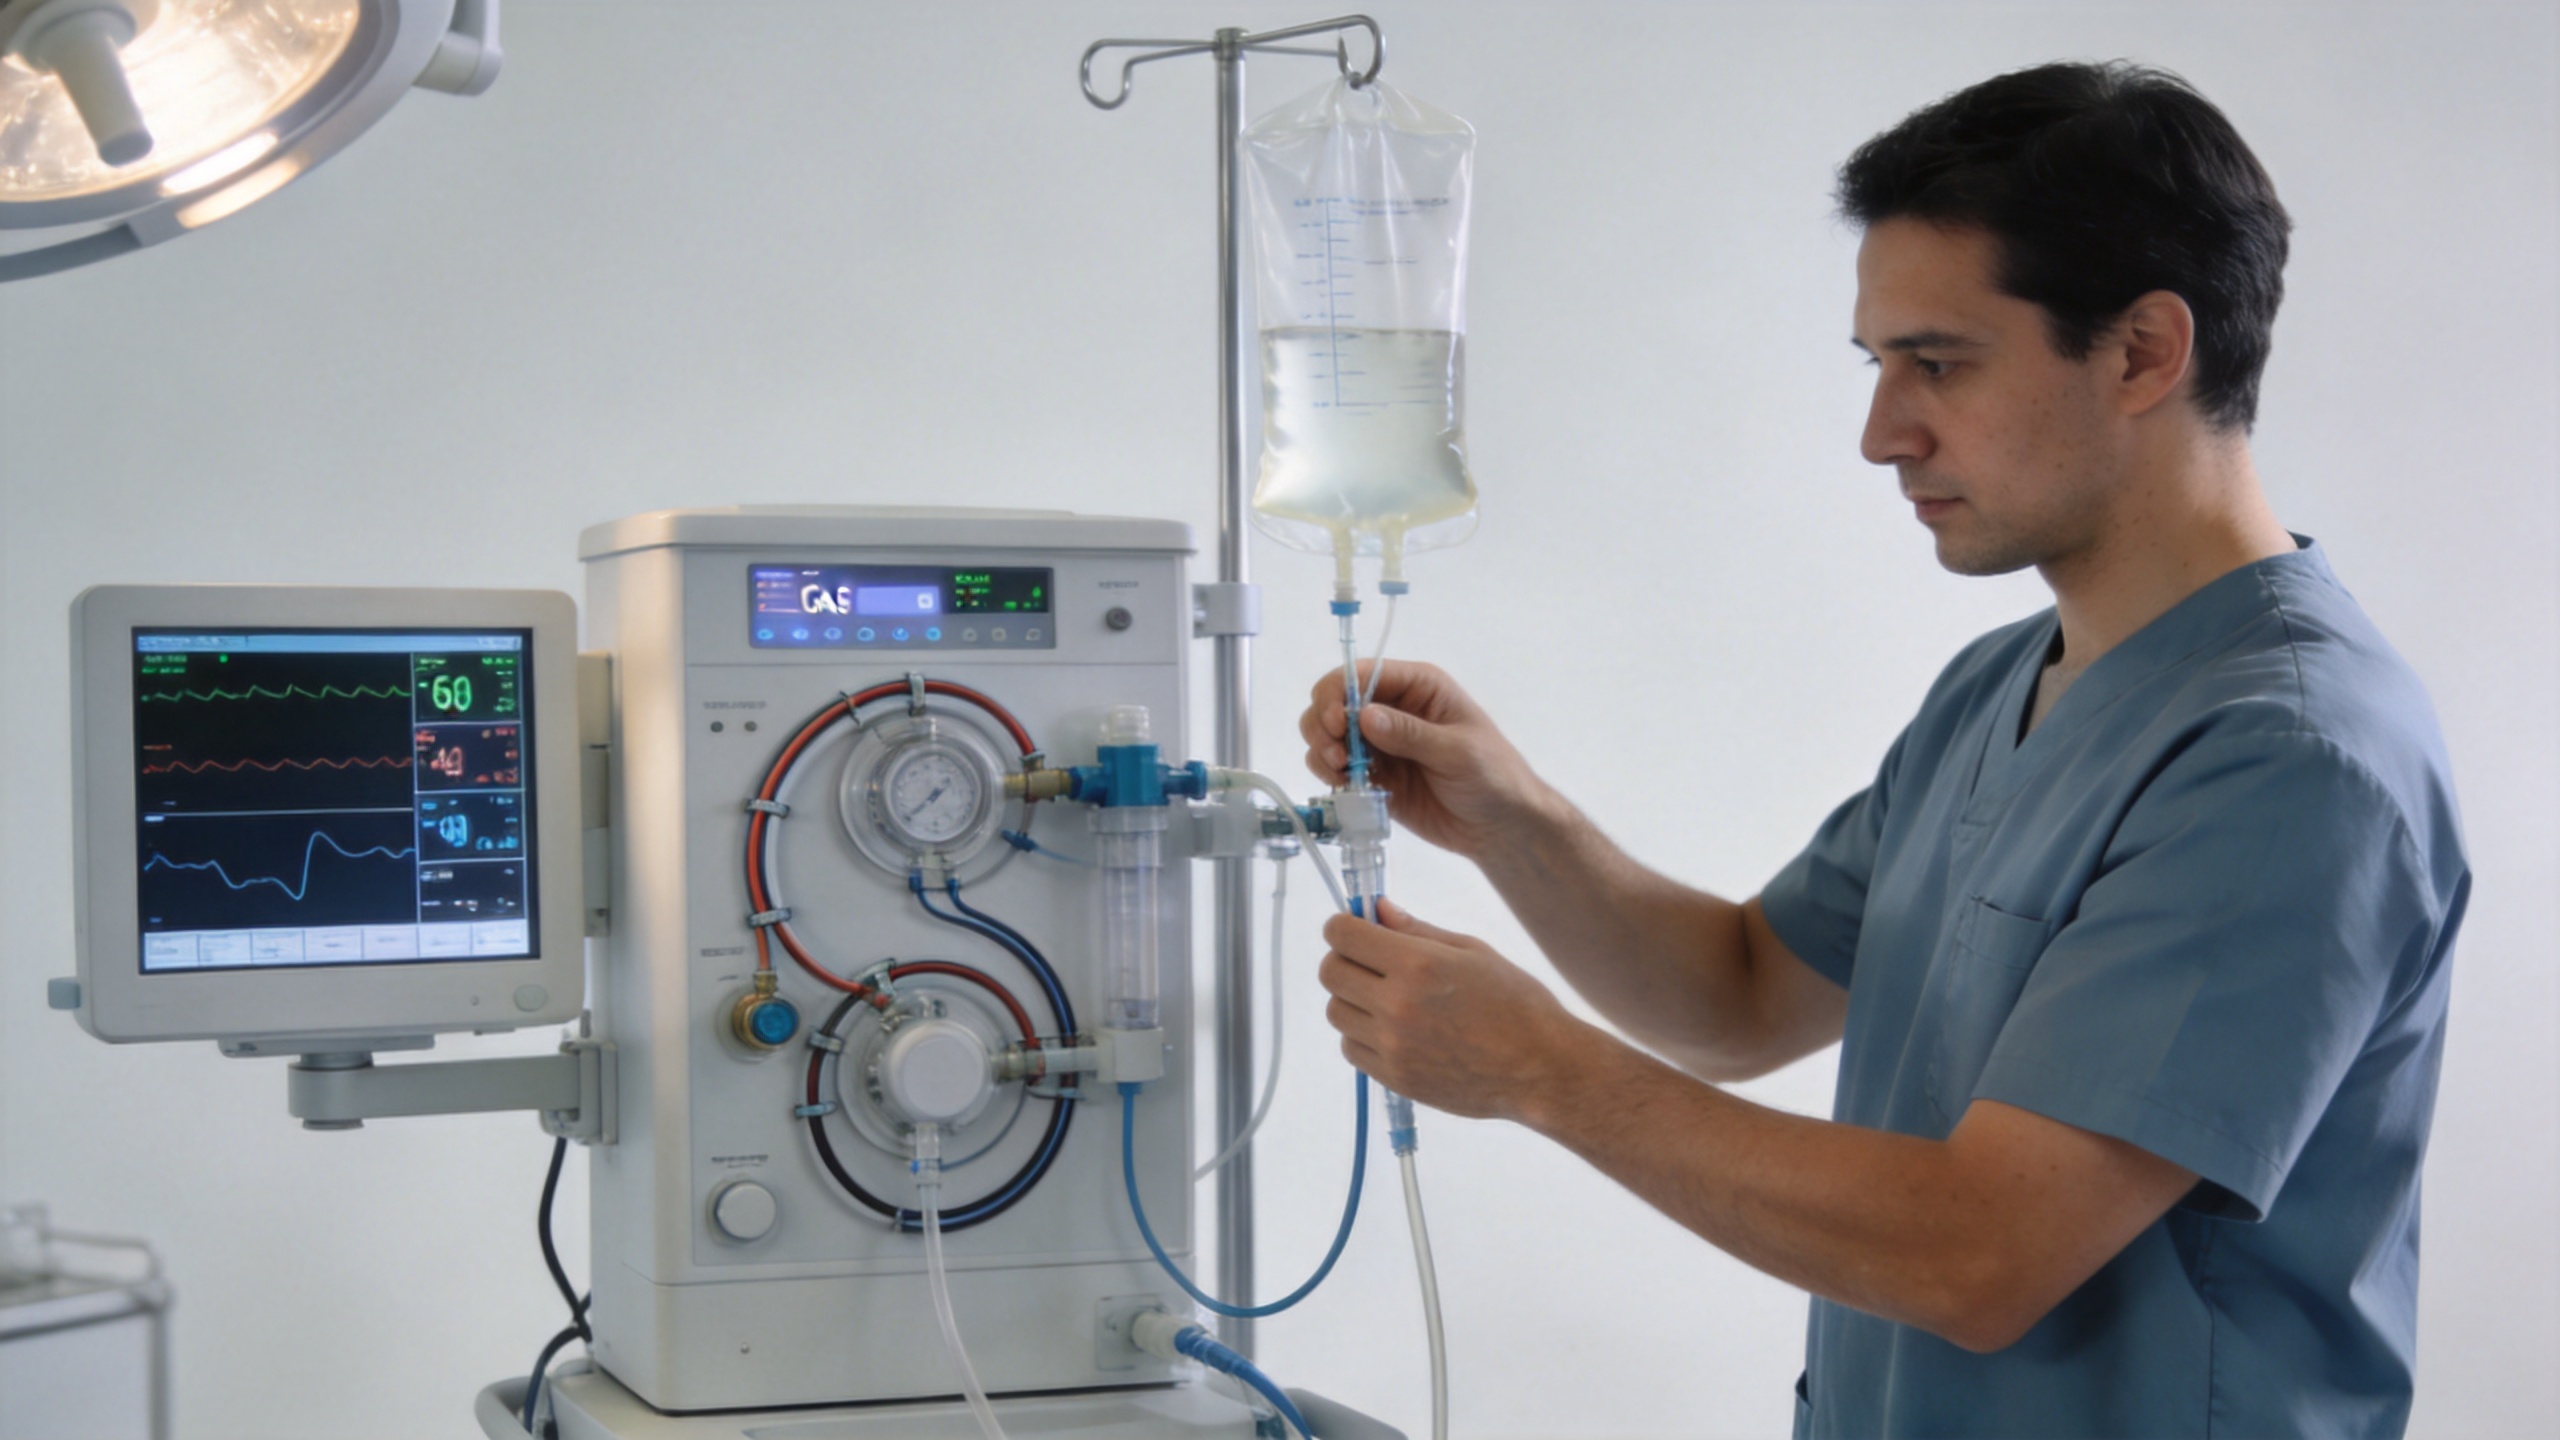
Lay out the anesthesia breathing circuit from the machine connection to the patient end. Look for splits, crush damage, discoloration, stiffness, missing caps, moisture, residue, or connectors that do not seat securely. Gently check the length of corrugated tubing and any coaxial section without stretching or twisting it. Pay close attention to junctions, elbows, filter housings, Y-pieces, and the reservoir-bag neck, because these are common places for a poor connection to hide.
For a circle system, verify that the inspiratory and expiratory limbs are attached to their intended ports and that the patient connection is not obstructed. For a coaxial or non-rebreathing configuration, use the device-specific method to confirm the inner tube and connections are correctly positioned. Do not assume that a general pressure check establishes every aspect of an inner-tube assembly; the manufacturer’s procedure controls.
Components That Deserve a Deliberate Check
- Hoses and connectors: inspect for damage, strain, loose fittings, and mismatched adapters.
- Reservoir bag: check its condition, connection, and suitability for the configured system.
- Unidirectional valves: confirm correct seating and unobstructed movement as specified for the workstation.
- APL or pressure-limiting valve: inspect the control and its connection; test its behavior only through the approved checkout sequence.
- Carbon dioxide absorbent assembly: check installation, seals, and absorbent status in line with the machine instructions.
- Filters, water traps, and sampling lines: verify orientation, condition, and secure placement where applicable.
Perform the Approved Leak and Flow Verification
Visual inspection cannot establish circuit integrity on its own. Pre-anesthesia checkout guidance commonly includes breathing-system pressure or leak testing and confirmation that gas moves through the circuit during both inspiration and exhalation. The exact occlusion points, pressure limits, controls, and pass criteria depend on the anesthesia machine and circuit. Use only the procedure approved for that equipment.
During the approved test, watch for unexpected pressure loss, a reservoir bag that does not behave as expected, a valve that does not move correctly, or a connection that loosens under normal handling. If the system does not pass, take it out of clinical use until the cause is identified and corrected by the appropriate trained person. Repeatedly changing settings in an attempt to “make it pass” can obscure the original problem and complicate handoff to biomedical engineering or service personnel.
It helps to record both the setup and the outcome: circuit type, major accessories, test completion, exception found, corrective action, and who accepted the system for use. This small record makes anesthesia machine maintenance conversations more focused when a recurring issue appears.
Confirm Gas Delivery and the Gas Monitoring System
The circuit is only one part of the path. Confirm the appropriate gas supply and flow controls under the workstation’s approved procedure, then verify that the configured gas monitoring system is connected and ready for use. Inspect sampling lines for kinks, moisture, disconnection, or incorrect routing. A visibly intact sampling line is not enough; verify the monitor’s readiness and alarm setup using the facility’s process.
Pre-use resources commonly include checking that an oxygen monitor reads room-air oxygen correctly and that the low-oxygen alarm is enabled and functional. Treat these as general checkout principles rather than a substitute for the exact instructions supplied with your anesthesia workstation. If readings, alarms, or sampling behavior are inconsistent, pause and resolve the issue before use.
Use a Clear Escalation Boundary
An inspection checklist supports clinical readiness; it is not a workaround for a failed device. Remove a circuit or component from service when you find physical damage, persistent leakage, contamination that cannot be handled through the approved process, incorrect valve behavior, unstable pressure behavior, or a monitoring fault that remains after routine setup checks. Label and isolate the item according to local practice, then notify the responsible team.
This boundary is particularly important for anesthesia machine maintenance. Users can complete the designated pre-use checks, clean or replace approved consumables, and document findings. Calibration, internal repairs, modification, and service actions belong to qualified personnel following the manufacturer’s documentation and the facility maintenance program.
A Practical Pre-Use Inspection Sequence
- Identify the scheduled circuit configuration and review the workstation-specific checkout procedure.
- Inspect the circuit, connectors, reservoir bag, valves, filters, sampling line, and accessories for condition and correct assembly.
- Confirm the absorbent assembly and relevant seals are installed as required for the selected system.
- Run the approved breathing-system leak, pressure, and flow checks for the configured anesthesia machine.
- Verify gas supply status and the readiness of the gas monitoring system, including required alarms.
- Document completion and escalate any failed check before the system is used.
More accurately, the goal is not to memorize a generic sequence. It is to make sure each component is checked in the context of the actual workflow, with a defined response when a result is abnormal. Ask a simple question at the end: can the team explain which circuit is attached, what was verified, and who owns any unresolved issue?
Conclusion
A consistent inspection of the anesthesia breathing circuit turns a routine anesthesia machine checkout into a traceable readiness process. Combine close visual inspection with the approved functional tests, confirm monitoring readiness, and keep maintenance responsibilities distinct from pre-use verification. When configuration, training, and documentation are aligned, teams have a clearer basis for identifying equipment concerns before a case begins.
 Hot News