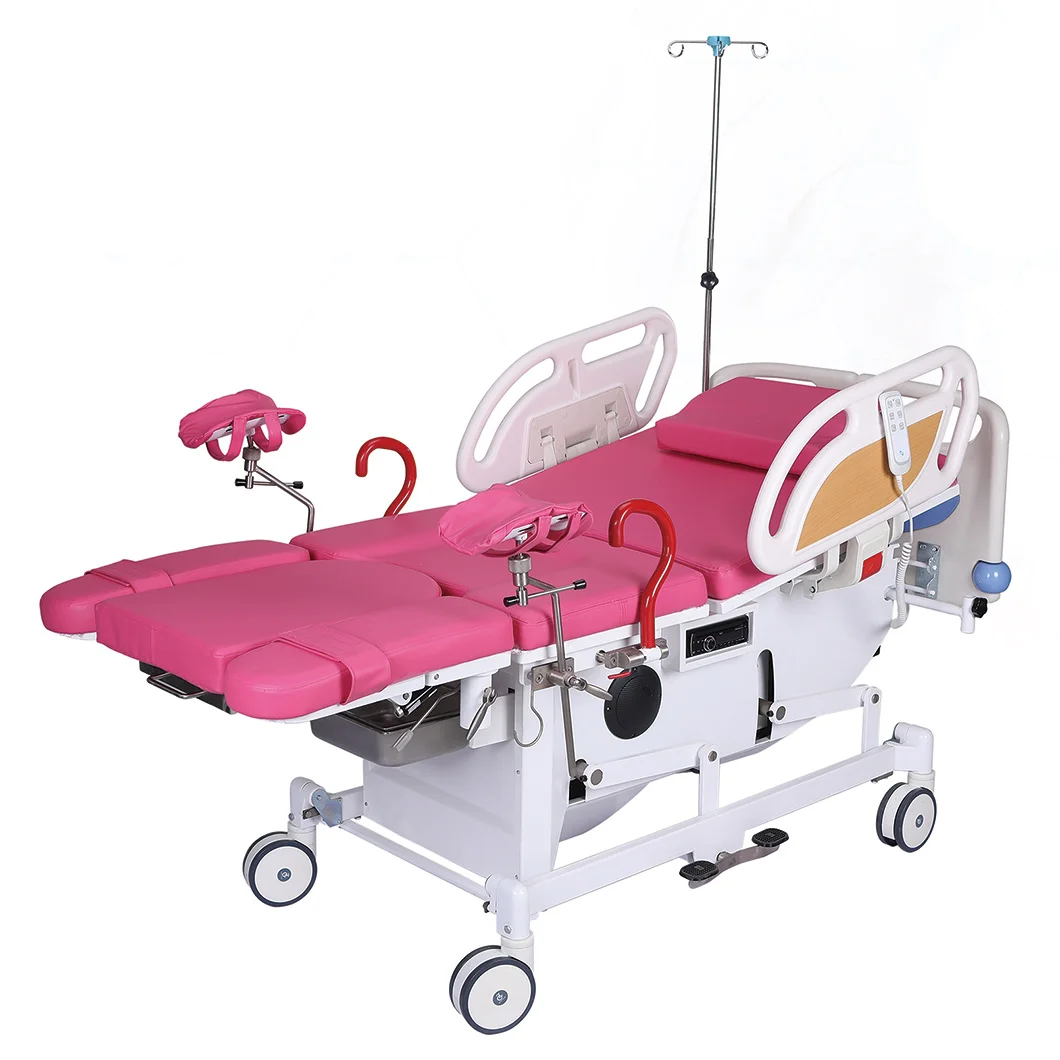
Operating tables today come equipped with five main movement options - Trendelenburg position where the head is lower than the feet, Reverse Trendelenburg which tilts the head up, lateral tilt, adjustable height settings, and rotational capability. These features work together to get patients positioned just right for surgery. The Trendelenburg position helps surgeons reach the pelvis area since it moves abdominal organs downward. For operations involving the upper abdomen or chest region, the Reverse Trendelenburg gives better visibility. Lateral tilt comes in handy during orthopedic surgeries or when approaching from the side in neurological cases. Adjusting table height ensures everything sits at eye level for the surgical team, making their job much easier. Rotation allows access around the entire body without needing to lift drapes or move the patient again. Studies show that using these movements properly spreads out patient weight more evenly across support points, cutting down on pressure injuries by about 27% compared to keeping someone still all through surgery according to research published in Journal of Surgical Ergonomics last year. Getting these adjustments right not only keeps the operating room sterile but also reduces back pain and other strains on medical staff because everyone can maintain comfortable body positions throughout procedures.
Having standardized protocols for adjusting operating tables really helps smooth out what happens during surgery. Instead of everyone making their own calls on the spot, these protocols give clear steps based on research for each team member to follow. According to a study published in the Annals of Surgical Innovation last year, hospitals implementing these set procedures saw a drop in positioning mistakes by around 34%. They also saved nearly 8 and a half minutes on average for setting everything up before starting operations. The roles become much clearer too. Surgeons focus on where they need to work on the body, while anesthesiologists keep an eye on how patients respond when the table tilts. Nurses then handle all the safety checks like making sure brakes are engaged properly, following specific sequence steps for different parts of the table, and doing final double checks. This kind of consistency makes it easier for doctors, nurses, and other staff to communicate well together, which matters a lot when someone needs to be moved quickly during surgery. Hospitals that switched to these standards reported about 19% fewer delays in procedures overall. Plus, teams worked together better across specialties, which means more patients can be treated safely within scheduled times.
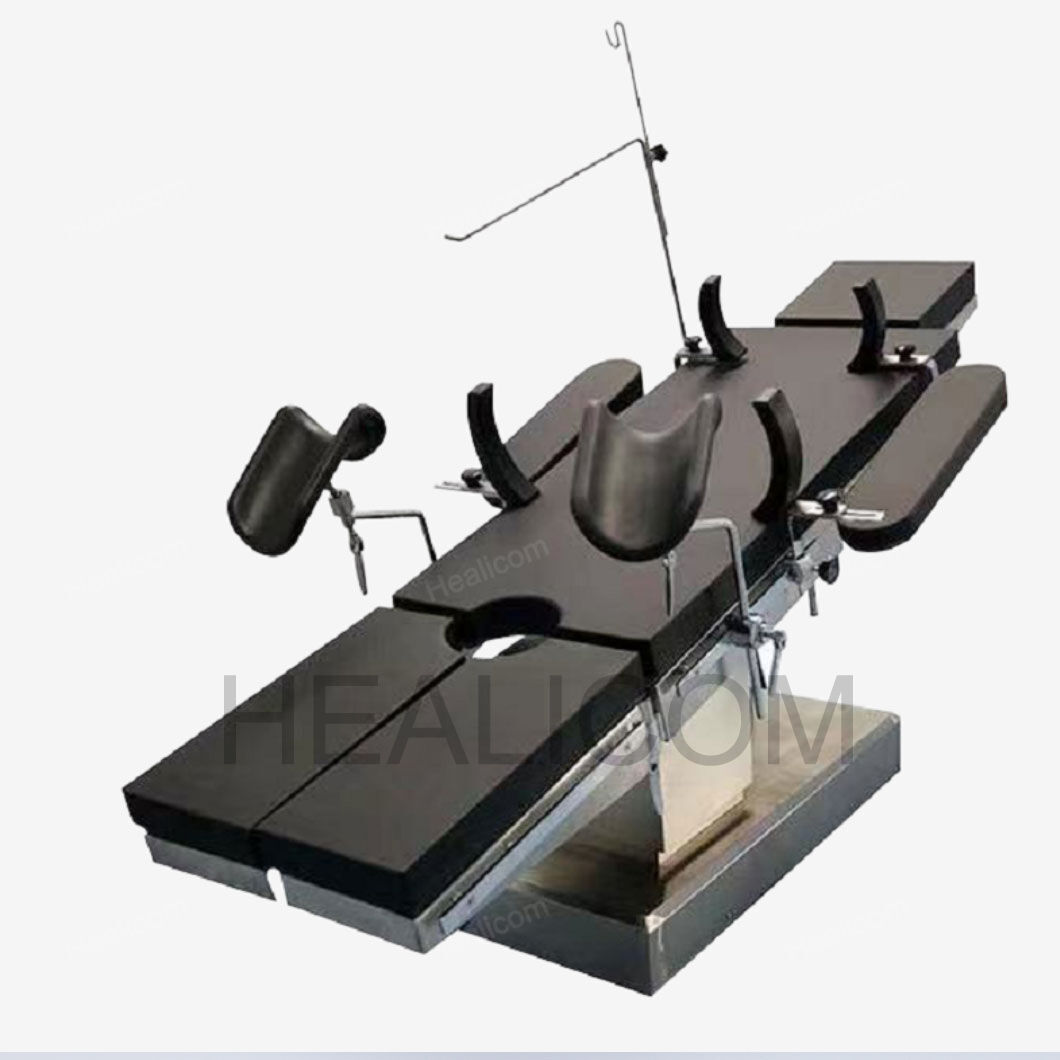
Begin every setup with brake engagement and application of safety straps. Then follow position-specific sequences grounded in biomechanical and clinical evidence:
Supine:
Prone:
Lateral:
Lithotomy:
Beach Chair:
These benchmarks reflect consensus guidelines from the Association of PeriOperative Registered Nurses (AORN) and are validated to prevent nerve injuries, optimize surgical access, and reduce positioning-related complications. Orthopedic workflow studies confirm standardized sequences cut average positioning time by 18% (2023).
When surgeons need extreme precision during minimally invasive or robotic operations, they often turn to hybrid patient positions that blend traditional approaches. Take the prone-lateral setup where patients lie on their stomachs but are tilted about 15 degrees toward the surgical area. This angle gives better visibility and helps instruments work together more effectively during lateral lumbar interbody fusion surgeries. The pressure on retractors drops around 40% compared to when patients are positioned purely laterally. For robotic prostate removals, surgeons combine lithotomy with Trendelenburg positioning at roughly 25 to 30 degrees inclination. This setup provides good access to the pelvis while gravity naturally moves bowels out of the way, which reduces complications and keeps blood flowing properly back to the heart. Real time monitoring of pressure points is essential in both cases to prevent tissue damage. According to a study published in European Urology Review last year, these hybrid arrangements cut down operation times by nearly a quarter in complicated urological procedures. Modern operating tables equipped with separate motor controls and built-in sensors have made these specialized positions much safer and easier to reproduce consistently across different hospitals.
The brakes need to be engaged prior to moving patients around or adjusting the table position, not as an afterthought. When the brakes aren't activated early enough during side tilting maneuvers, there's actually a 27% higher chance of falls happening, especially if the person being moved isn't fully covered or is under sedation according to research published last year in the Journal of Surgical Ergonomics. On the flip side, some newer systems monitor how weight distributes across different parts of the operating table through built-in sensors that work continuously. These setups will notify medical personnel whenever the angle gets too steep for unstable surfaces, say over 15 degrees, or detect issues with motor strain or uneven weight distribution that could compromise safety. Better equipment now reacts on its own too. Lock mechanisms kick in, power to motors cuts off, and both lights and sounds go off warning everyone involved long before things start getting dangerous. Combining proper procedures with smart technology has become what most hospitals consider best practice for keeping surgical tables secure during complex procedures.
Prolonged immobility and steep positioning dramatically elevate pressure injury risk—especially in lithotomy, where sacral interface pressure can surge 300% above baseline. Real-time pressure mapping systems, validated in multicenter trials, reduce pressure ulcer incidence by 41% when integrated into positioning workflows. Effective mitigation hinges on three coordinated actions:
Memory foam overlays and low-friction drapes further reduce interface stress, while sensor-triggered alerts prevent nerve compression during prolonged Trendelenburg. These strategies are endorsed by AORN’s latest Positioning Standards and reflect frontline experience across high-volume academic centers.
 Hot News
Whether it is business cooperation or industry exchange.